
Getting Your Home Offer-Ready in 10 Days | Practical Seller Checklist
If you’re thinking, “I want to list soon, but my house isn’t quite ready,” this is for you.
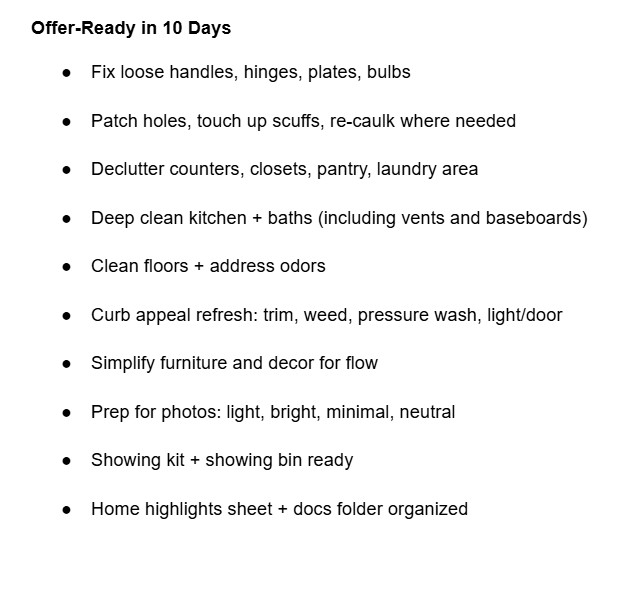
Ten days is enough time to make a meaningful difference in how your home shows, how buyers feel in it, and how strong your offers can be. The key is focusing on high-impact improvements, not perfection.
Below is a practical 10-day plan you can follow (or print) to get your home offer-ready fast.
What “Offer-Ready” Really Means
An offer-ready home is:
-
Clean, bright, and uncluttered
-
Free of obvious deferred maintenance
-
Easy to tour (access, lighting, flow, and minimal distractions)
-
Supported by good documentation (repairs, systems, warranties, HOA info when applicable)
-
Marketed well (photos, notes, and showing instructions are dialed in)
This is about reducing buyer objections and increasing confidence.
Before You Start: 60-Minute Setup (Do This Today)
Create your “10-Day Offer Ready” folder (physical or digital):
-
Receipts for recent repairs and upgrades
-
Appliance manuals (or model numbers)
-
Utility provider list and average monthly costs (rough is fine)
-
HOA/condo docs and contact info (if applicable)
-
Warranty info (roof, HVAC, pest, termite bond, etc.)
-
A simple list of home improvements with dates (even approximate)
Gather supplies:
-
Magic erasers, microfiber cloths, degreaser
-
Caulk + caulk gun
-
Spackle + putty knife
-
Touch-up paint (or one fresh neutral for key areas)
-
LED bulbs (match color temperature within rooms)
-
New outlet/switch plates (cheap, big visual win)
-
Storage bins for quick pack-away
The 10-Day Checklist (Day-by-Day Plan)
Day 1: Walkthrough Like a Buyer
Do a fast “buyer tour” and write down every objection.
-
Walk up to your front door. What do you see first?
-
Walk room to room. What looks tired, crowded, or ignored?
-
Note odors, lighting issues, loose handles, squeaks, stains.
Make 3 lists:
-
Must-fix (safety, leaks, obvious damage)
-
High-impact cosmetic (paint, lighting, hardware)
-
Nice-to-do (only if time allows)
Day 2: Knock Out the “Five-Minute Fixes”
This day is about easy wins that buyers absolutely notice.
-
Tighten loose doorknobs and cabinet pulls
-
Replace burned-out bulbs
-
Replace broken blinds and missing screens
-
Fix squeaky hinges (WD-40)
-
Patch nail holes
-
Re-caulk tubs/sinks where it’s discolored or cracked
-
Replace old switch/outlet plates
Day 3: Declutter the “Hot Zones”
These areas influence offers more than most sellers realize:
-
Kitchen counters
-
Entryway
-
Living room
-
Primary bedroom
-
Bathrooms
Rule of thumb: clear 50% more than you think you need to.
-
Pack small appliances (leave 1–2 max)
-
Remove excess decor and personal collections
-
Clear top of fridge, pantry floor, and closet floors
-
Reduce furniture if it makes walking paths tight
Day 4: Deep Clean the Kitchen and Bathrooms
If buyers think “this home is clean,” they also assume it’s been cared for.
-
Degrease stove hood, backsplash, cabinet fronts
-
Clean grout and brighten sinks
-
Clear and wipe under-sink areas
-
Clean mirrors, baseboards, vents, and light fixtures
-
Empty bathroom counters except 1–2 neutral items
Pro tip: replace old shower curtains, worn rugs, and tired hand towels.
Day 5: Paint and Patch for a Fresh First Impression
You don’t need to repaint the whole house to get the benefit.
Focus on:
-
Scuffed hallways and stair rails
-
The main living area walls (if marked)
-
The primary bedroom
-
Front door (if it needs it)
Keep it simple: one light neutral, consistent sheen, clean edges.
Day 6: Flooring and Smell Check
Flooring and odor are deal killers because they feel expensive.
-
Professional carpet clean (or replace if truly worn)
-
Mop hard floors thoroughly, especially corners
-
Deodorize politely (avoid heavy fragrances)
Common odor sources to address:
-
Trash can area, disposal, fridge drip tray
-
Pet bedding, litter box zones
-
Damp towels, laundry area
-
Crawlspace or basement mustiness (if present, talk with a pro)
Day 7: Curb Appeal in One Afternoon
You’re not landscaping for a magazine shoot. You’re creating confidence.
-
Trim shrubs away from windows
-
Weed the front bed and walkway edges
-
Fresh mulch (if needed)
-
Power wash porch/walkway
-
Clean windows at the front
-
New doormat and a clean, working porch light
-
Make sure house numbers are visible
Day 8: Make Spaces Feel Bigger (Staging Basics)
Even if you don’t “stage,” you should stage.
-
Pull furniture slightly off walls when it helps flow
-
Remove oversized pieces that crowd the room
-
Add one simple focal point per room (not three)
-
Use consistent, soft lighting (lamps + overhead)
-
Make beds hotel-tight, bathrooms spa-simple
Photo rule: if it won’t help a buyer understand the room, remove it.
Day 9: Prep for Photos and Showings
This is where good listings separate from average ones.
-
Clear counters again (yes, again)
-
Hide trash cans, litter boxes, pet bowls
-
Put cars away from driveway if possible
-
Open blinds, turn on all lights
-
Replace mismatched bulbs
-
Create a “showing bin” to toss last-minute items into
Showing readiness kit:
-
Disinfecting wipes
-
Toilet brush + quick-clean spray
-
Vacuum
-
Glass cleaner
-
Laundry basket (for quick pickup)
Day 10: Final Walkthrough + “Offer Confidence” Packet
Do one last buyer-style walk and finalize details that reduce negotiation.
-
Confirm smoke/CO detectors work
-
Confirm HVAC filters are new/clean
-
Confirm access is easy: attic, crawlspace, panel, water heater
-
Put together a simple one-page “Home Highlights” sheet:
-
Age of roof, HVAC, water heater (if known)
-
Major upgrades with dates
-
Warranty/termite/pest info (if applicable)
-
Anything buyers should know that helps them feel confident
-
Common Mistakes That Cost Offers
-
Over-improving in a hurry (big projects rarely pay off in 10 days)
-
Strong air fresheners (buyers assume you’re covering something)
-
Leaving closets stuffed (buyers read it as “not enough storage”)
-
Skipping curb appeal (it sets the tone before they even walk in)
-
Listing before the home is consistently “show-ready”
FAQ
Can I do this while living in the home?
Yes. The “showing bin” and a daily 15-minute reset are what make it work.
What if I only have weekends?
Then compress the tasks into two heavy work blocks:
-
Weekend 1: repairs, paint touch-up, declutter
-
Weeknights: deep clean + staging tweaks
-
Weekend 2: curb appeal + photo/show prep
Should I do a pre-inspection?
Sometimes it helps, sometimes it’s unnecessary. The right answer depends on your home’s age, condition, and your risk tolerance. If you’re not sure, ask your Realtor to walk the home and talk through strategy.
Categories
Recent Posts